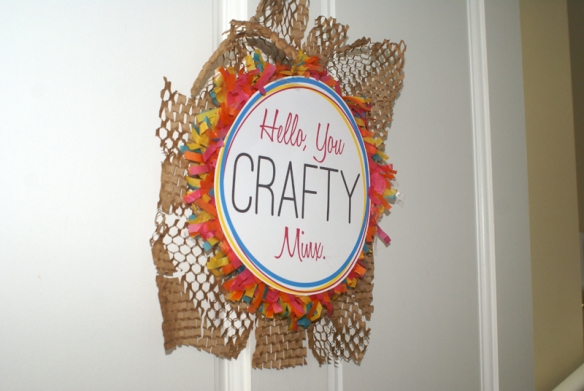
 Some of the best parties happen when something goes seriously awry and last week’s Girl’s Night of Crafting & Cocktailing was no exception. I had expected about 40 gals to be here gabbing, crafting, and sipping the night away.The Southern Californian Edison Power Gods had other plans and threw a Tijuana-to-Orange County blackout our way.
 If you’re from SoCal, you know that we can’t even drive in the rain, so imagine the panic that set in when we were told we wouldn’t have power for up to two days. (It only ended up being about 12 hours, but still!) It was like the sky was falling. No power meant no cell phone use (which I still don’t really get), no computers, and most sadly, no party. Juuuuuuuuuust kidding! A power outage wasn’t going to kill this shindig.
 Most of the people who were supposed to come, now couldn’t. They either assumed I cancelled the party, their husbands were stuck in traffic for hours (really! the sky was falling!), or they just wanted to stay close to their kids (this was days before 9/11 and I think some people were a little freaked out.) I ran to the dollar store (cash only!), bought Mexican candles and flashlights that I hung from the chandelier, and tried to toast bruschetta bread in my car (to no avail… I actually ended frying my adapter and not being able to straighten my Chewbacca hair – oh the horrors!), but the show must go on! And on it went… with 15 brave (child-avading, husband-ditching, cocktail-guzzling, blackout-loving) ladies.
I had two crafts planned – Glittering G.I. Joe type figurines… 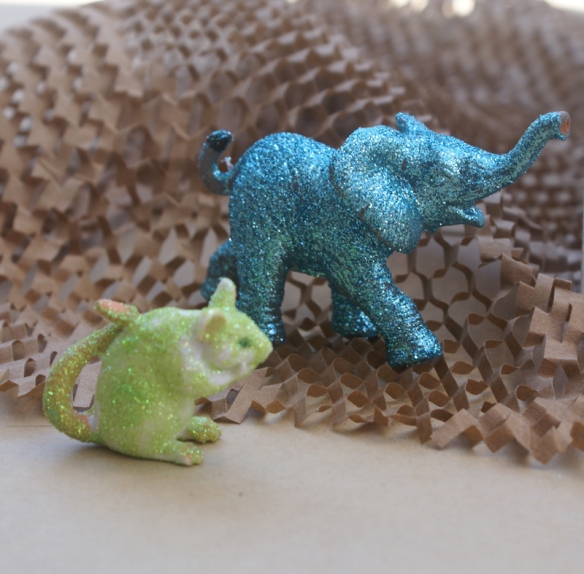 (Elephant glittered by me.. Rat glittered by my 3 year old) … and making a necklace out of washers. Yes, I’m talking about washers from Home Depot. And actually making a necklace that looked like it was from J. Crew. Impossible? I think not!
 No one glittered because it was so dang dark, but everyone made one (or more) necklaces!)
 As far as decor went, I wanted to keep it funky, crafty, and urban (is that a possible combo?) but super simple. I wrapped branches with colorful yarn (idea stolen from Ohdeedoh) and used them as decor. I also hung them from the chandelier & the outside overhang to hang the signs. (Had to use fishing line somewhere! Love that stuff!) The result was floating colorful branches. Loved it.
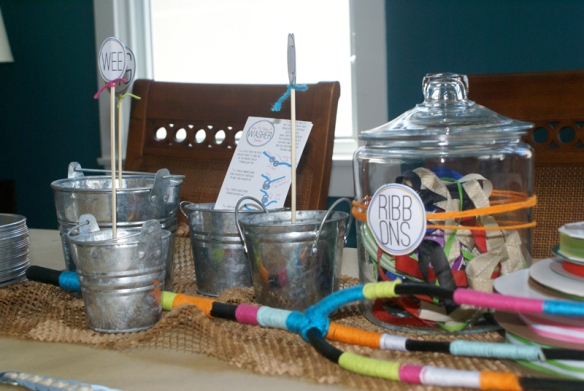
 I set up the “Make A Washer Necklace” table inside using galvanized buckets for “BIG,” “MID,” and “WEE” sized washers as well as for the instructions.
  And I have to give a HUGE thank you to Pinterest for
 addicting me introducing me to so many fun projects. I found the instructions for the washer necklace through Pinterest on Tiny Sparkly Things Blog and I have to say what FABULOUS and detailed instructions she drew up for me to follow.  Because I knew that my friends would need to read the instructions themselves, I redrew her instructions in Illustrator and made instruction sheets. So thank you Tiny Sparkly Things! What a fun resource you are!
 I wrapped the tables with kraft butcher paper, gathered various ribbons in glass jars, drew out how long each ribbon should be using a sharpie directly onto the butcher paper, and used this crazy awesome roll of Greenwrap that I found at The Container Store as a runner on the tables as well as on the mantles. I just love that extra texture.
  Because I was expecting many more peeps, I had pie tins ready so that you could bring your washers & ribbon anywhere you could find a spot. They were a great way to contain the chaos!
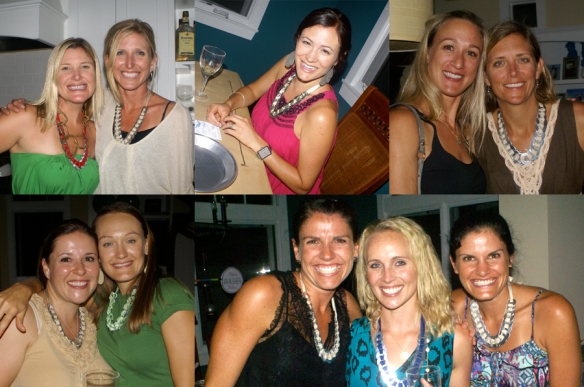
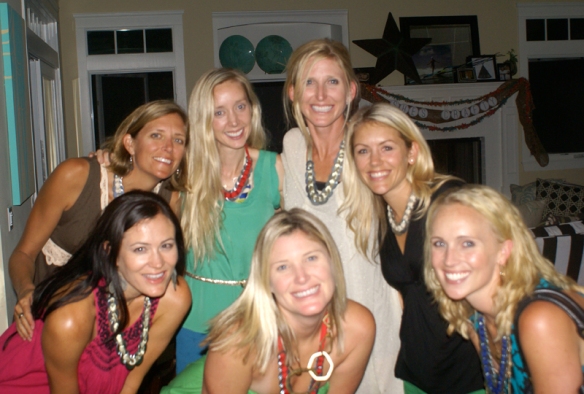 Look how seriously cute the necklaces turned out! (PS – please note, that this was at the end of the night. Purple teeth, wine-soaked eyes, and frizzy Chewbacca hair should please be ignored. Please focus your attention on the necklaces. Thank you.)
 Oh and before moving onto the glitter station, I have to mention two things about the mantle. One: that I also found that seriously cute fringe stuff in the gift department of The Container Store. Who knew? And Two: Did anyone (besides my super fab & with-it sister) pick up on the “She’s Crafty?” reference or am I just a freak? For the record it’s a Beastie Boy’s song and I could not stop singing it while I was getting ready for this party, so it made it’s way onto the mantle. If you got it, you’ve earned yourself a License to Ill.
 Okay… onto the glitter station. Crafty Jan owns all of this stuff, so I just borrowed it. Such pretty glitter, though it can get super messy. The blackout made it nearly impossible to see outside, so these little figurines never got their glittery new life, but that’s just a reason to throw another party in my book.
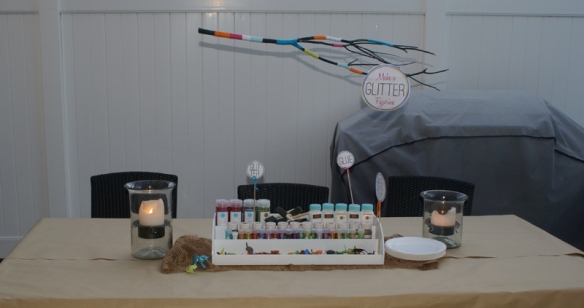 There’s the set-up with the added candles as night started to fall.
  For food, I luckily kept it simple. Well, I always keep it pretty simple since I am a horrendous cook, but I mean there was no heating involved which turned out great since the use of an oven was a no-go after 4pm.
  Here’s the un-toasted guacamole ‘bruschetta’ (recipe here), which was still pretty good even though it was just bread.
  I also had cut veggies in plastic wine cups lined with cupcake liners with ranch dressing at the bottom. This was not my idea. I found it somewhere in the blogosphere but I cannot figure out where. If anyone knows, let me know and I will give credit. I’ll totally do this again. It was a nice individual way of serving veggies. Added bonus: no clean up! Just toss.
  Finally, just brownie bites from the grocery store to satisfy any sweet tooth. And we were very thankful for those candles, even if they didn’t fit the theme! (Though there’s nothing wrong with a little Jesus at a party, right?) We sipped away and this…
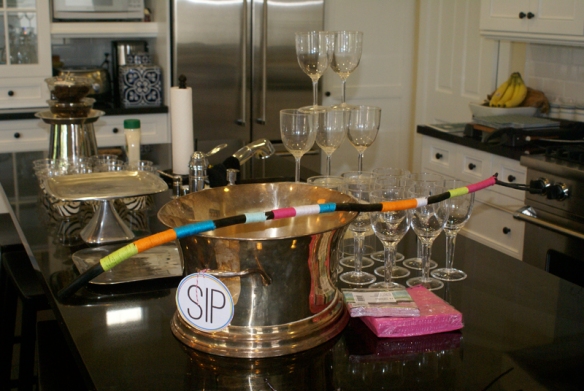 turned to this…
 I love hosting girl’s nights during the week. I think most of the gals I know (especially the ones with young ones) are DYING for a night off and a mid-week night off is even sweeter. Another thing I always do is provide some alcohol but ask everyone to bring a couple beers or a bottle of wine to share if they can (no problem if they can’t.) That way, it doesn’t put you out financially to host which means you’ll be more inclined to have more parties, and no one ever seems to mind pitching in for a fun night. It’s a win all around!
 Here’s the night in progress… mind you we could barely see so these pics are pretty bad! I love the flashlights hanging from the chandelier. I think I might do that again if my boys ever want a scavenger hunt or camping themed birthday. It kind of looks cute.
 I think that the blackout actually made this night even more fun. I mean, what else would we all have been doing? Talking to our husbands? Playing with our kids? Oh man! (I am TOTALLY kidding!)
 What an unexpectedly fun night without light.
  And what’s that you say? You want to host a party just like this? Okay! Here are some free printable PDF files for you just because I’m feeling glad to be back and thankful that you all are hanging in there!
 Here are the FREE printable PDF files for:
How to Make A Washer Necklace Instructions (3 to a page)
She’s Crafty banner
Hello You Crafty Minx door sign
Make a Washer Necklace sign
Little signs for ribbons, big, mid, wee, sip, & yum
DOWNLOAD HERE (clicking the picture above won’t get you the files): CRAFTforBLOG


